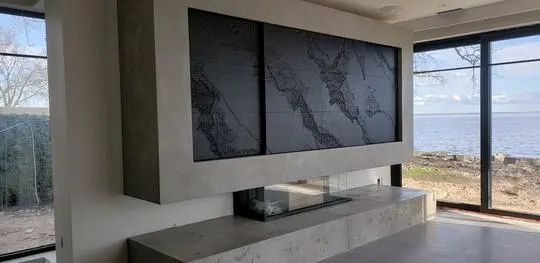
Fireplace surround application tutorial
Follow these steps to apply microcement with ease
What you need to know
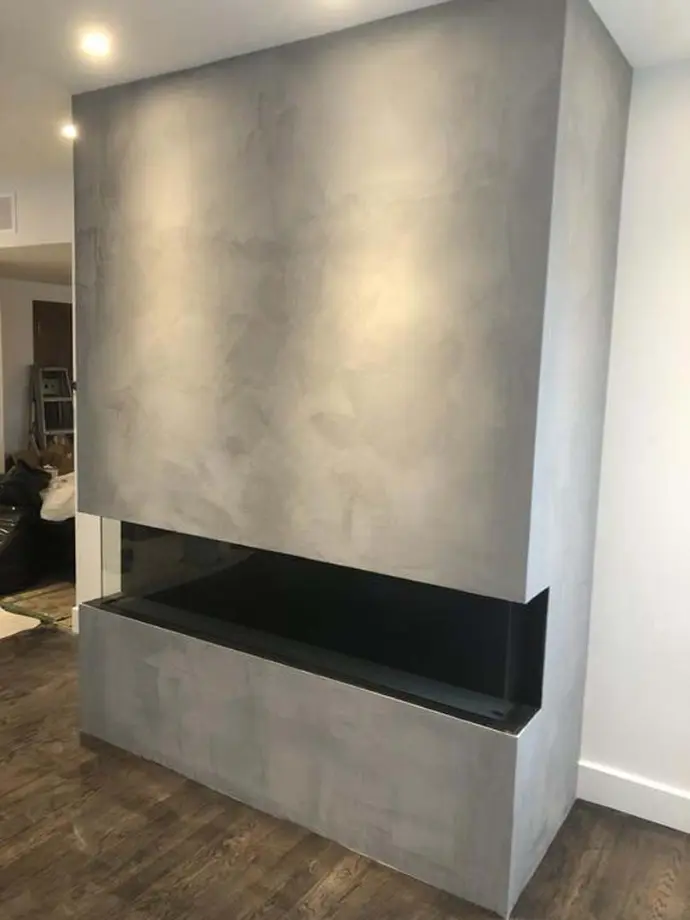
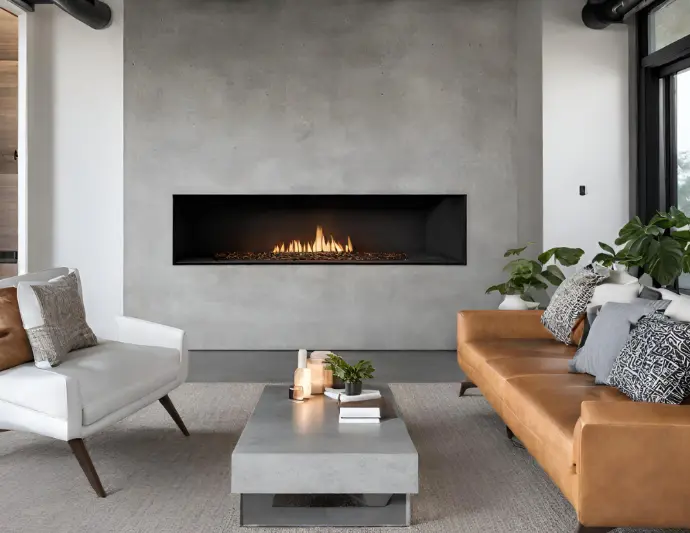
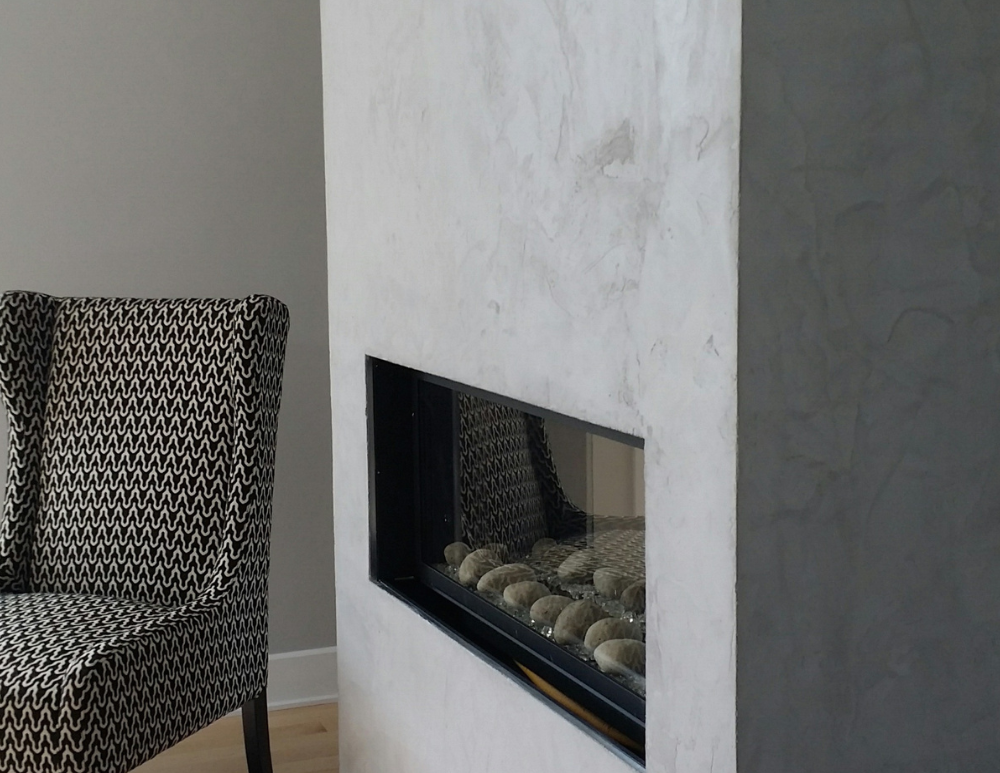
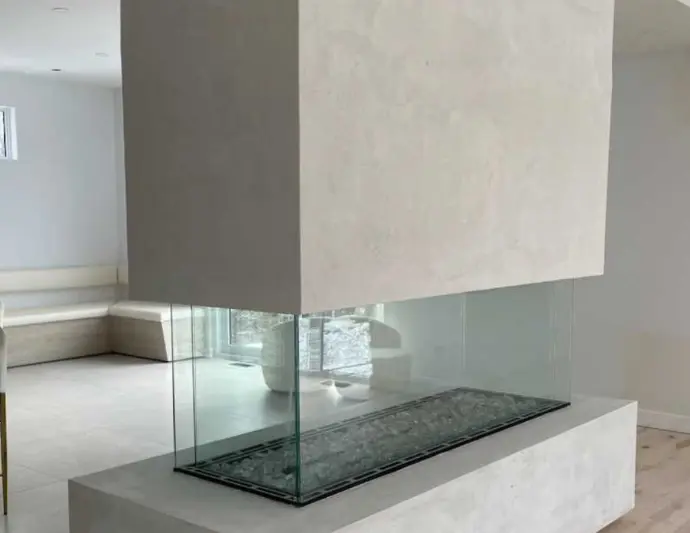
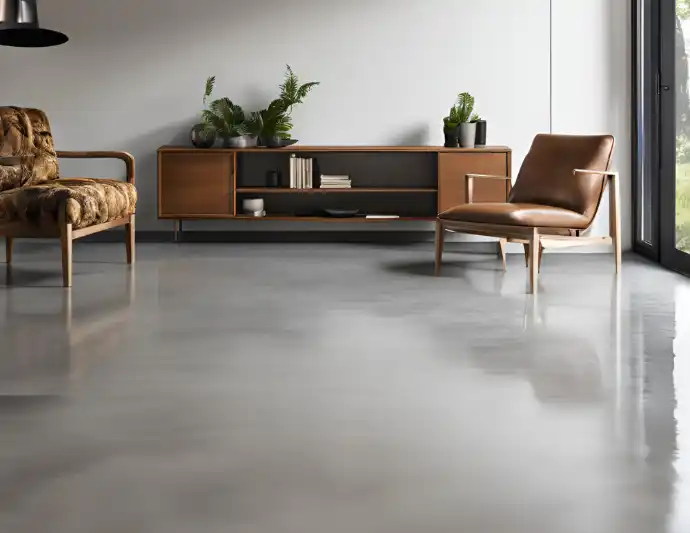
Microcement is the perfect solution to elevate your fireplace surround. Fire-resistant and stylish, it brings a modern touch and that undeniable wow effect to your space!
This page outlines all the steps needed to achieve the best possible result.
The wall microcement kit includes all the products you need for a perfect microcement finish:
- Microcement powder ;
- Sealer.
- We recommend purchasing the optional tool kit for the best application experience.
- A drill with a mixing paddle is required to mix the microcement.
Covering more than 200 sq. ft.?
- For larger surfaces, it's a good idea to have an orbital sander on hand to make sanding easier and reduce fatigue.
Download the full list of recommended tools for your project
SoftLux microcement can be applied to many stable surfaces.
Accepted surfaces | Not suitable |
|
|
Not sure if your surface is compatible? Contact us—we’ll be happy to help!
Important : The surface must be sound, smooth, and free of cracks. Microcement is a decorative finish and will not hide surface imperfections.
Surface preparation
The first step is to:
- mark off the application area with masking tape,
- and carefully protect all surrounding surfaces.
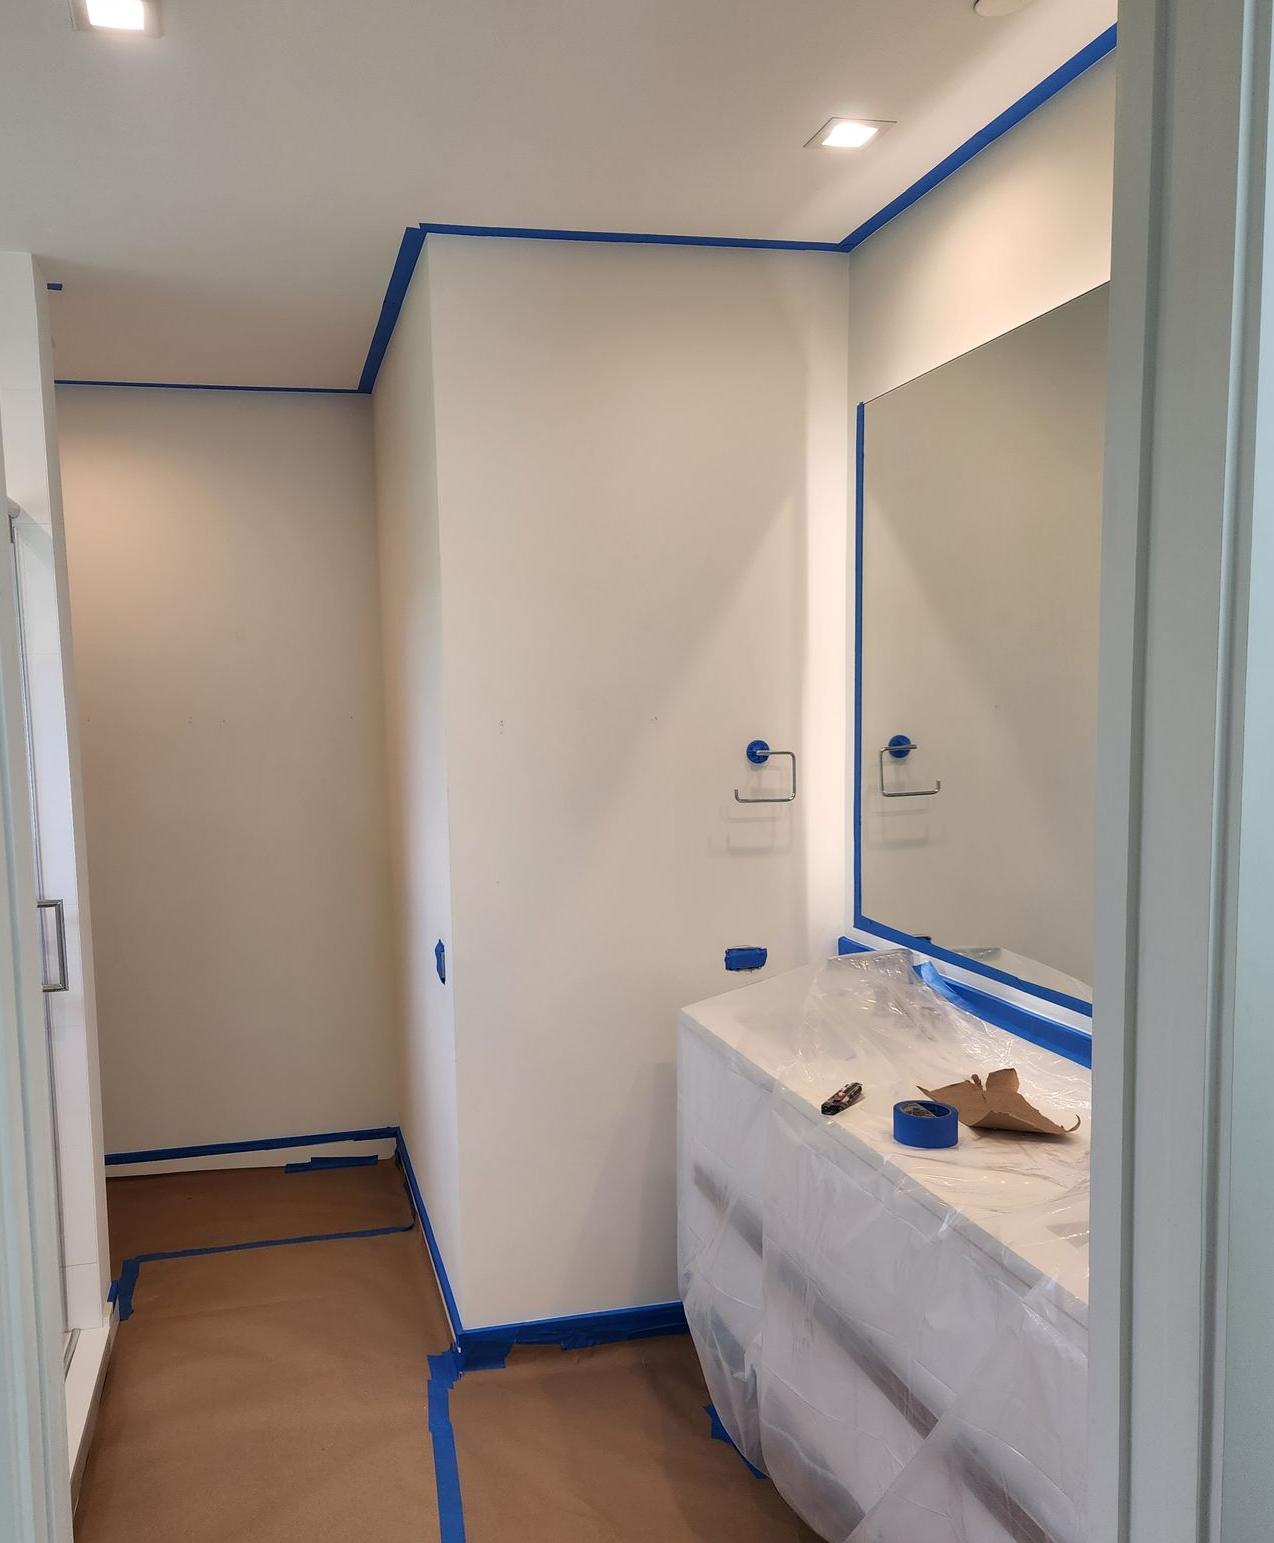
It’s essential to clean the surface to ensure it’s ready for the primer. It must be clean, free of dust, and properly prepared to ensure good adhesion.
Cement boards | Sur du carrelage existant | Blocs de béton |
Secure installation:
Light sanding (if glossy finish):
Dust removal :
Primer application:
| If you're covering a tiled floor, it's essential to:
| Clean:
Level the surface:
Primer:
|
Once the surface is smooth, remove the dust with a vacuum cleaner and move on to the step of applying the undercoat.
Primer application
A 945 ml container of primer covers approximately 100 sq. ft.
Open one of the primer containers, mix well, and pour about half (approx. 500 ml) into a roller tray.
Pro tip: Do not dilute the primer with water when using it to fill grout lines on tile. Apply it with a trowel. Let the grout-filling coat dry for 12 hours before applying the second coat of primer.
Apply the primer to your surface using a roller — just like painting.
Be sure to cover all edges and corners carefully.
Let the primer dry for at least 2 hours.
Once dry, you can lightly sand any excess build-up with a sanding block, then vacuum up the dust. (Optional)
It’s necessary to apply SoftPrim+ primer in multiple steps to properly fill the tile joints.
If you selected the tile product, you will receive a tile-specific primer in your kit.
Applying microcement
Microcement is applied in two layers, each about 1 mm (1/25") thick.
Remove the painter’s tape and clean your tools while the mortar is still wet.
Smoothing tools can become extremely sharp!
Always handle them with great care.
Mixing instructions :
|
Pro tips :
Important : Keep track of the exact amount of water added to each batch,to maintain a consistent powder-to-water ratio and avoid noticeable colour variations.
|
-
Transferring the mortar: Use a taping knife to transfer the mortar onto the trowel.
- Recentring: Use the plastering technique by regularly recentring the material on the trowel with the taping knife. This helps avoid excess buildup and keeps the layer even.
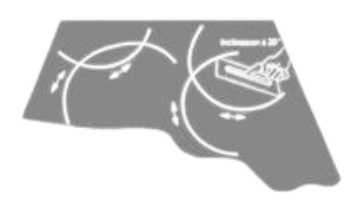
- Trowel application: Start applying the mortar with the trowel, moving from bottom to top and top to bottom on the wall. For corners and edges, use the taping knife to apply the material. Hold the trowel at a 20° angle, using overlapping semicircular motions to spread the product smoothly.
- Evening out: As soon as the mortar starts to set*, remove any excess and smooth the surface using a dry sponge. *It should no longer leave a fingerprint, but still be soft enough to even out.
- Drying: Let the first coat dry for at least 4 hours, and protect the unfinished surface from stains and damage.
- Trowel application: Hold the trowel at a 30° angle, and apply the microcement using overlapping semicircular motions. Apply light pressure as you spread.
- Evening out: As soon as the mortar starts to set*, remove any excess and smooth the surface using a dry sponge. *It should no longer leave a fingerprint, but still be soft enough to even out.
- Drying: Let the first coat dry for at least 4 hours, and protect the unfinished surface from stains and damage.
- Sand with 120-grit to smooth out the surface.
- Sand with 220-grit to smooth out the surface.
- Vacuum the surface, then wipe it with a slightly damp cloth.
- Let it air dry before moving on to the sealing step.
Sealer application
- The sealer acts as a pore filler. It will slightly darken the microcement and reveal its final colour.
- It’s important to work the sealer into the surface thoroughly to fully saturate the pores.
Do not leave any excess or buildup.
- Pour about 1/4 of the contents into a paint tray to start.
- Begin by applying the sealer to the edges and corners with a brush.
- Then, apply a thin, even layer across the entire surface using a foam lacquer roller.
- Be sure to keep the layer as thin as possible.
- Roll in one direction, then cross-roll in the opposite direction to avoid roller marks.
- Use a stain applicator pad to smooth out any roller marks or imperfections.
- Let dry for at least 6 hours.
Do not touch the microcement before it’s fully dry— you could leave fingerprints on the surface!